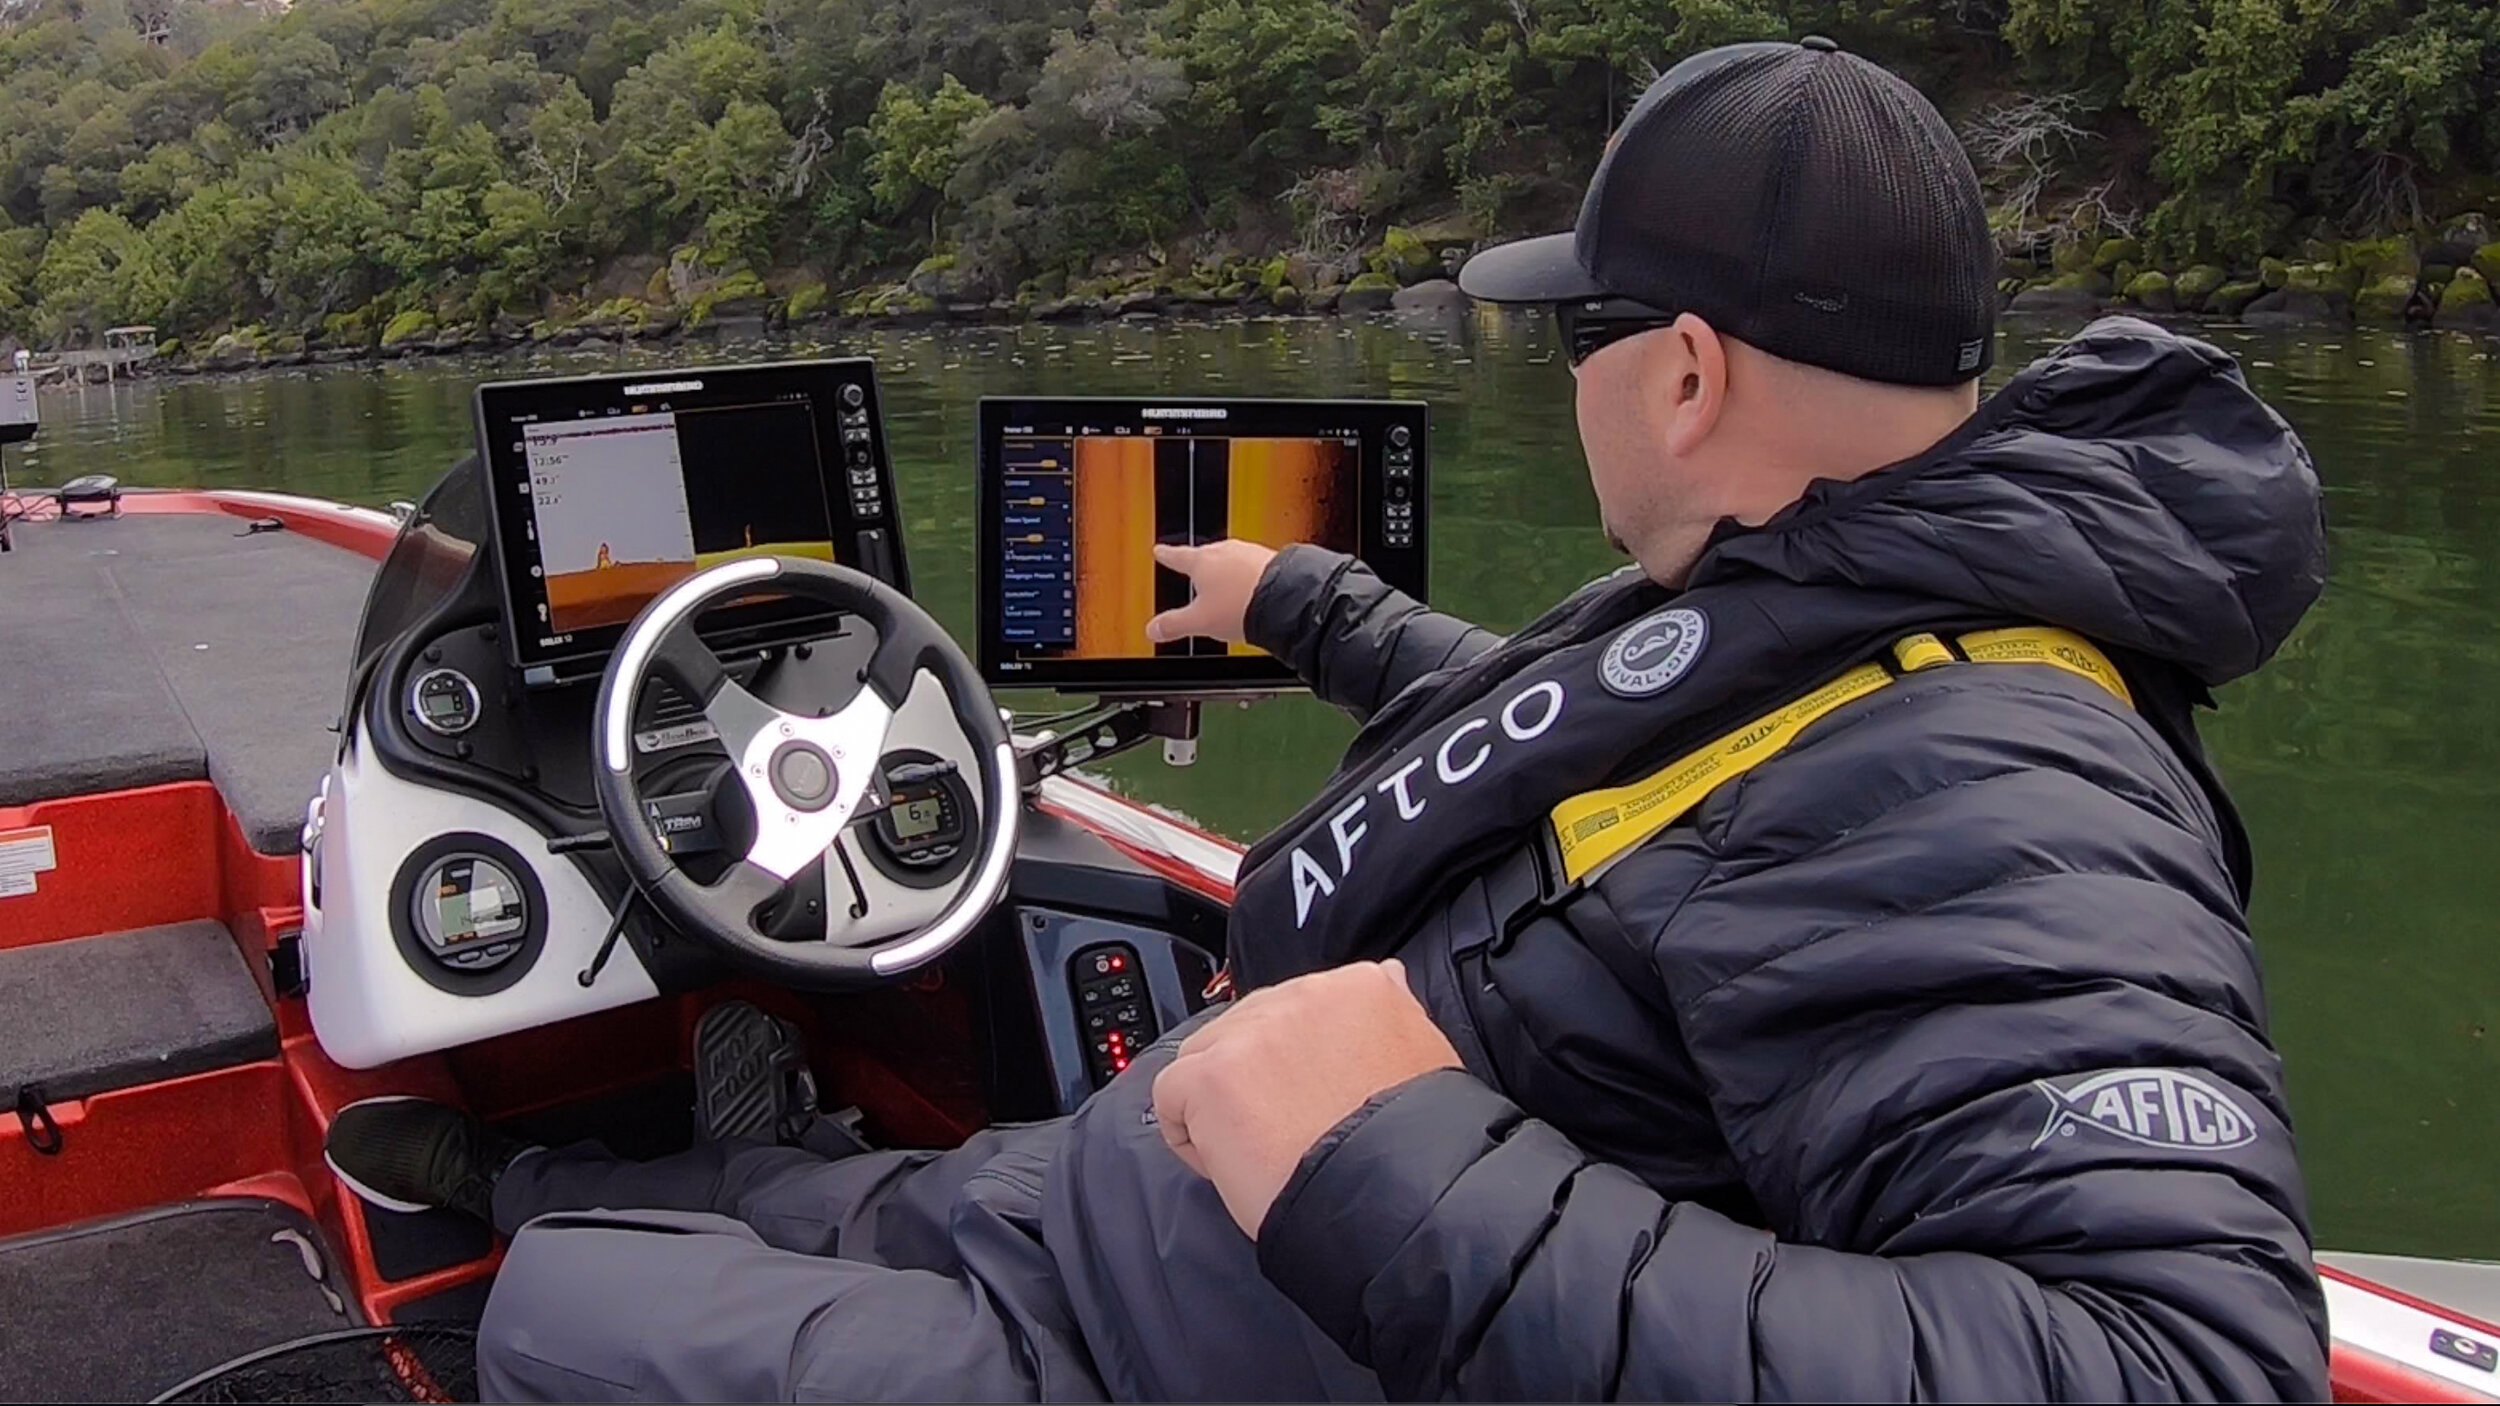
Side Imaging Tricks To Actually See Fish!
Is your depth finder too confusing? Not with Tim's help! He'll teach you everything you need to know so your unit reads with picture-like clarity. His quick tricks for adjusting your side imaging units will clear everything up and provide a picture with real detail so you can find fish and structure more easily.
The tricks to side imaging are a combination of sensitivity, contrast, and frequency. Many anglers fail to understand the importance of changing frequencies in different environments. Tim goes in depth about the differences between the 455khz, 800khz, and Mhz (Mega) Frequencies and what each can do for your overall image quality. Regardless of the brand unit you're using, switching between 455 and 800 kHz will completely change your picture.
For anglers looking for a starting point, Tim recommends setting both your sensitivity and contrast to 50%. This is an excellent starting point on virtually any unit. From there you can begin following his advice and making adjustments to get the most out of your unit. Below is a breakdown of the unit Tim uses as well as some of the other great options on the market at different price points.
Tim's Electronics...
-Humminbird Solix 15 Chirp/Mega/SI/GPS: http://bit.ly/2Hazsej
-Humminbird Solix 12 Chirp/Mega/SI/GPS: http://bit.ly/2AE2YDB
-Humminbird Waterproof Ethernet Switch Port: http://bit.ly/2zTArsD
-Ethernet Cable (2) 20 ft: http://bit.ly/2Df42jh
Smaller/Budget-friendly units...
-Humminbird Helix 7 G3: http://bit.ly/2SoFl8a
-Humminbird Helix 5 G2 (Awesome unit for the price): http://bit.ly/2fsOu1I
-Lowrance Hook 2 9 series: http://bit.ly/2kBj3l8
Our favorite Equipment For Mounting these units...
-BalzOut Mount: http://bit.ly/2HnxLtu
-Kong Electronics Mount: http://bit.ly/2MohNwS
-Kong Wave Tamer Mount: http://bit.ly/2wsJVbA

